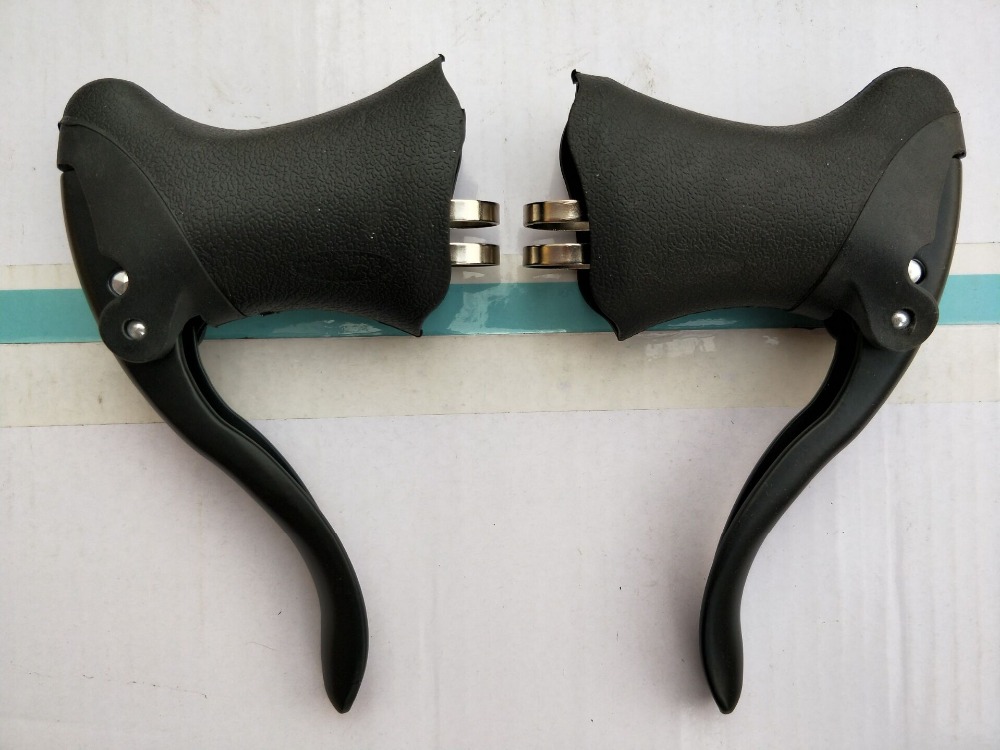
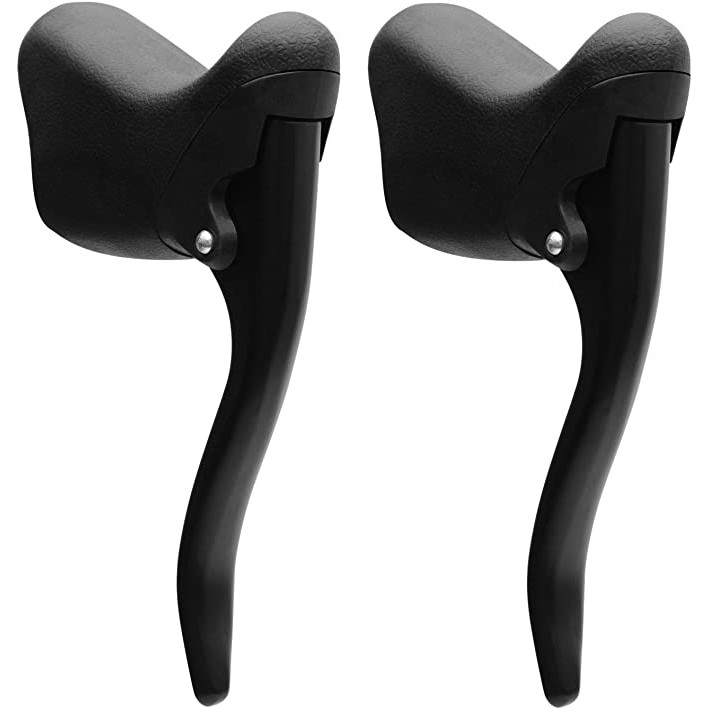
Road bike brake levers are one of the most important components of your bike, as they allow you to control your speed and stop when you need to.
However, many cyclists neglect to properly install, adjust, and maintain their brake levers, which can lead to poor braking performance, discomfort, and even accidents.
In this article, we will show you how to install, adjust, and maintain your road bike brake levers in a few simple steps.
How to Install Road Bike Brake Levers?
If you are installing new brake levers on your road bike, you will need the following tools and materials:
- Allen wrenches
- Cable cutters
- Cable end caps
- Electrical tape
- Grease
- New brake cables and housing (optional)
The steps for installing road bike brake levers are as follows:
- Remove the old brake levers by loosening the clamp bolts with an Allen wrench and sliding them off the handlebars. You may need to unwrap some of the bar tapes to access the bolts. Cut off the old brake cables and housing with cable cutters and discard them.
- Grease the clamp bolts of the new brake levers and slide them onto the handlebars. Make sure they are aligned with the curve of the bars and at a comfortable angle for your hands. Tighten the clamp bolts with an Allen wrench, but not too much as you may need to adjust them later.
- Route the new brake cables through the brake levers and into the cable housing. Make sure there are no kinks or twists in the cable or housing. Cut the cable housing to the appropriate length with cable cutters, leaving enough slack for smooth steering. Install cable end caps on both ends of the housing to prevent fraying.
- Attach the cable housing to the frame using cable stops or zip ties. Make sure the housing does not interfere with any other components or cables. Connect the cable ends to the brake calipers using barrel adjusters or pinch bolts. Adjust the cable tension as needed.
- Wrap the bar tape around the handlebars, covering the cable housing and clamp bolts. Secure the bar tape with electrical tape at both ends.
How to Adjust Road Bike Brake Levers?
If your road bike brake levers are too far or too close to your handlebars, you can adjust their reach by using a small screw or dial on the lever body.
This will change how much you have to pull the lever before it engages the brake. The ideal reach is when you can comfortably apply full braking power with one or two fingers without straining your hand or wrist.
To adjust your road bike brake levers, follow these steps:
- Locate the reach adjustment screw or dial on your brake lever. It is usually on the inside or underside of the lever body, near where it attaches to the handlebar.
- Use a small screwdriver or your fingers to turn the screw or dial clockwise or counterclockwise, depending on whether you want to increase or decrease the reach. A small turn can make a big difference, so make sure you test your brakes after each adjustment.
- Repeat for the other brake lever, making sure they are symmetrical and comfortable for both hands.

How do Maintain Road Bike Brake Levers?
To keep your road bike brake levers working smoothly and safely, you should perform some basic maintenance tasks regularly. These include:
- Cleaning: Wipe down your brake levers with a damp cloth or a mild cleaner to remove any dirt, grease, or sweat that may affect their performance or appearance.
- Lubricating: Apply a drop of light oil or grease to any moving parts of your brake levers, such as pivots, springs, or cables. This will prevent rust, corrosion, and friction that may cause squeaking or sticking.
- Checking: Inspect your brake levers for any signs of damage, wear, or looseness. If you notice any cracks, bends, or breaks in your levers, replace them immediately. If your levers feel loose or wobbly on your handlebars, tighten their clamp bolts with an Allen wrench.
- Replacing: Replace your brake cables and housing at least once a year or whenever they show signs of fraying, rusting, or kinking. This will ensure optimal braking performance and prevent any accidents caused by snapped cables.


